How to Screenshot on Mac – Take Instant Images from Your PC
Advertisement
How to Screenshot on Mac (Different Methods)
There are actually multiple options to taking a screenshots on your Macbook device. Depending on the actual situation and what you want to screenshot, you can take various approaches to the method.

Here, we will teach you all of the different approaches you can take when wanting to capture a screenshot on your Mac. If you are reading this on your Mac, then follow along and even demonstrate it for yourself.
How to Screenshot on Mac
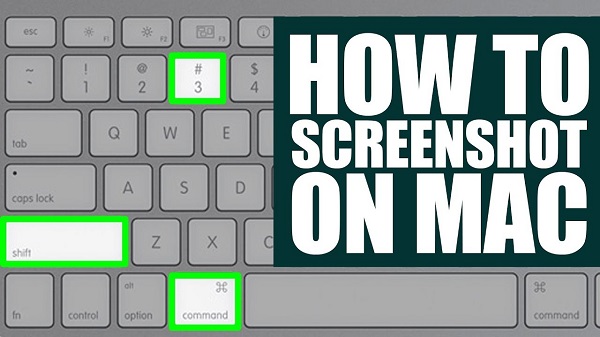
The obvious approach to taking screenshot on mac is with these basic commands above. You will need to press and hold down on the following keys: Shift, Command, and # 3 simultaneously.

Once you have selected these keys, you would have successfully taken a basic screenshot on your Mac. There should also be a pop up thumbnail on either corner of your screen displaying the screen you just captured. Furthermore, if you select the thumbnail, you can edit your screen before saving it. If not, the capture will automatically save to your desktop.
How to Screenshot Part of Your Screen on Mac
Next, we will explain how to take a simple screenshot of just a portion of your screen. This way, you won’t need to spend time cropping the captured screen later.

In order to do this, there are a number of steps you will need to follow:
- First, you will need to select the keys displayed above, simultaneously: Shift, Command, and $ 4.
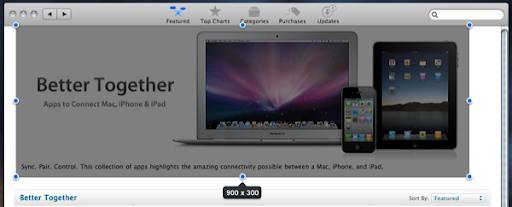
- Next, a crosshair symbol should show up on your screen . You can use your mouse to drag the crosshair around the area you wish to have captured onto your Mac. Additionally, you will need to hold the spacebar key to keep dragging along. And, if you ever wish to cancel, simple press Esc.

- Now, to take the screenshot, just release your hand from the mouse or trackpad. This will capture the selected area.
- Just like before, if you see the thumbnail pop up onto the corner of your screen, then the screenshot was successful. You can select it to edit your photo. Or, just let it save on its own
How to Screenshot a Window or Menu on Mac
Finally, we will explain how to take a screenshot of a simple window or menu from your Mac’s screen. Follow along if you are using your Mac:

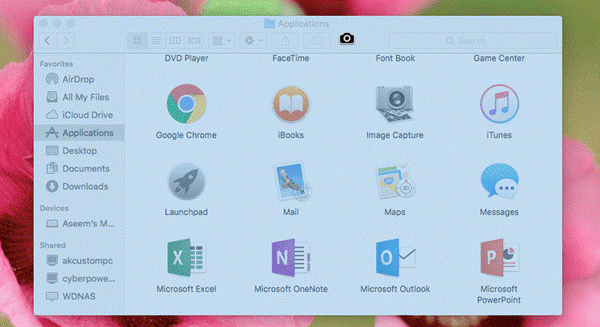
- To begin, start by selecting the following keys above: Shift, Command, $ 4, and the Space bar key, all at once. Your mouse pointer will change into a camera icon. If you wish to cancel the process, you can simply tap on Esc.

- Now, you’ll need to click on the menu or the window in order to capture it. If you don’t want to the window’s shadow to appear on your screenshot, you can also select on the “Option” key while you take the shot.
- As always, if you see the thumbnail, you have successfully taken your screenshot. Go ahead and edit the photo, or leave it alone to save on its own.
Where to Find Your Captured Screenshots
If you are looking for your already captured shots, they should pretty simple to find. Simply go to your Desktop and look for the name “Screenshot” with the date and time displayed.
In addition, you can also change the location of your screenshots by going to your “Options”. Select the “Screenshots App”. From there, you can select the folder to which you want to move your screenshots to.
Advertisement
Advertisement
- Sort by best
- Top rated
- Newest


