How to Run Windows on a Mac
Advertisement
Windows was first introduced in 1985. After more than 3 decades of existence, it has now become the primary operating system of computers worldwide. On the other hand, the operating system of Mac which is macOS comes in at second place. It goes to show that nothing beats PC especially its functionality.
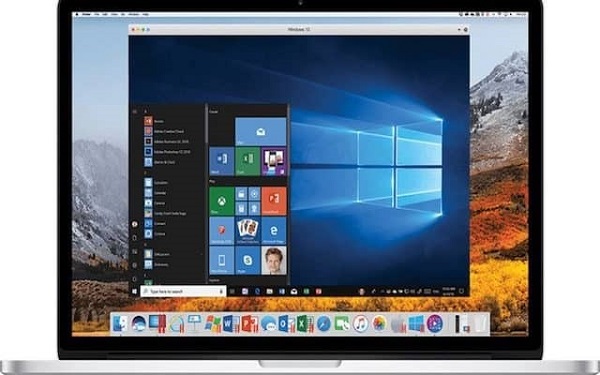
However, there are times where you might want to revert back to the classic Windows when you’re using a Mac. This seems to be the case for some users worldwide. After all, when you use a Windows then a Mac, you’d immediately know the differences. While Macs are good for certain things, it still can’t beat the overall functionality of Windows especially for gaming. So, if you’re looking for a way to run Windows in your Mac, read on!
Windows vs Mac
Windows and Mac were released one year apart of each other. Mac was released in 1984 and Windows in 1985. According to Wikipedia, Microsoft Windows has 70% or more share of the computer market worldwide. On the other hand, Apple’s MacOS is at around 9.6% to 13%.
This is a clear indication that Windows is the standard when it comes to computers. This is because Windows is more open and have more functionalities than other operating systems out there. Aside from that, there are more people who recognize this brand. Lastly, it’s generally cheaper than Apple products which is a huge indicator.
Ways to Run Windows on a Mac
If you have a Mac but you miss using Windows, don’t fret! Your dream of using a Windows OS again isn’t impossible. If you though that it isn’t possible to run Windows on a Mac, think again! Here are some ways to do so:
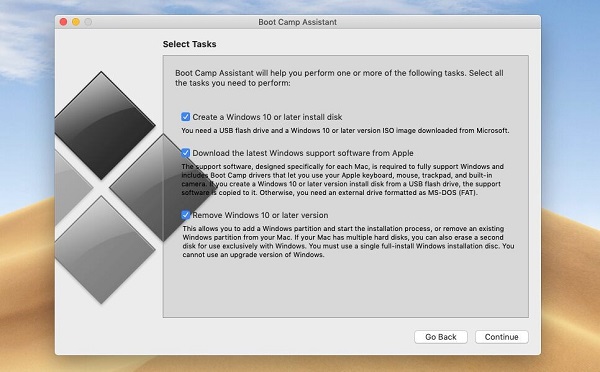
Bootcamp – The first and the most recommended way to run Windows on Mac is through Bootcamp. Bootcamp is a utility that comes with your Mac. This is the first supported option of Apple that allowed users to switch between MacOS to Windows. When you use Bootcamp, there are no virtually handicaps because it’s fully supported by Apple. Furthermore, it can even increase the performance since most Macs have higher end specs. To use Bootcamp just follow these: Use Bootcamp assistant to create a Windows partition > format the Windows (Bootcamp) partition > Install Windows > use the Bootcamp installer in Windows. And then you’re done! Now you can freely switch between MacOS and Windows anytime you want by restarting then pressing and holding the Option or Alt key during startup so you can switch.
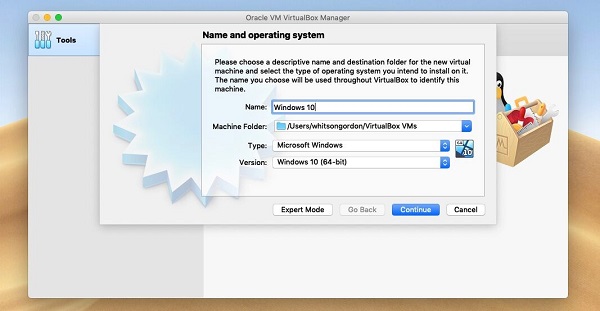
VirtualBox – Unlike in Bootcamp, VirtualBox is another way of running Windows on your Mac which is known as virtualization. Virtualization is great if you want to run both MacOS and Windows at the same time. To do this, just download VirtualBox and install it. Then, launch it and select the blue “New” button in the toolbar. This will create a new virtual machine which you can rename. You can also then choose your preferred operating system such as Windows 10. Then, you’ll need to allocate resources to your virtual machine such as RAM and storage space. This really depends on how you will use the 2 OS simultaneously. If you’re going to use them equally, then it’s wise to divide the resources equally as well. Once everything is installed, you can now select the virtual machine in the sidebar and select the “Settings” button.
Conclusion
If you thought that running Windows on a Mac was impossible, this guide just proved you wrong! Just refer to this guide whenever you want to do so!
Advertisement
Advertisement
- Sort by best
- Top rated
- Newest


